If you have a private API that you use internally, or if you have custom fields and configurations for your own tools (like Jira, Splunk, AWS etc.) you can create your own private templates within Tines. These templates are visible to everyone on the tenant.
Creating private templates
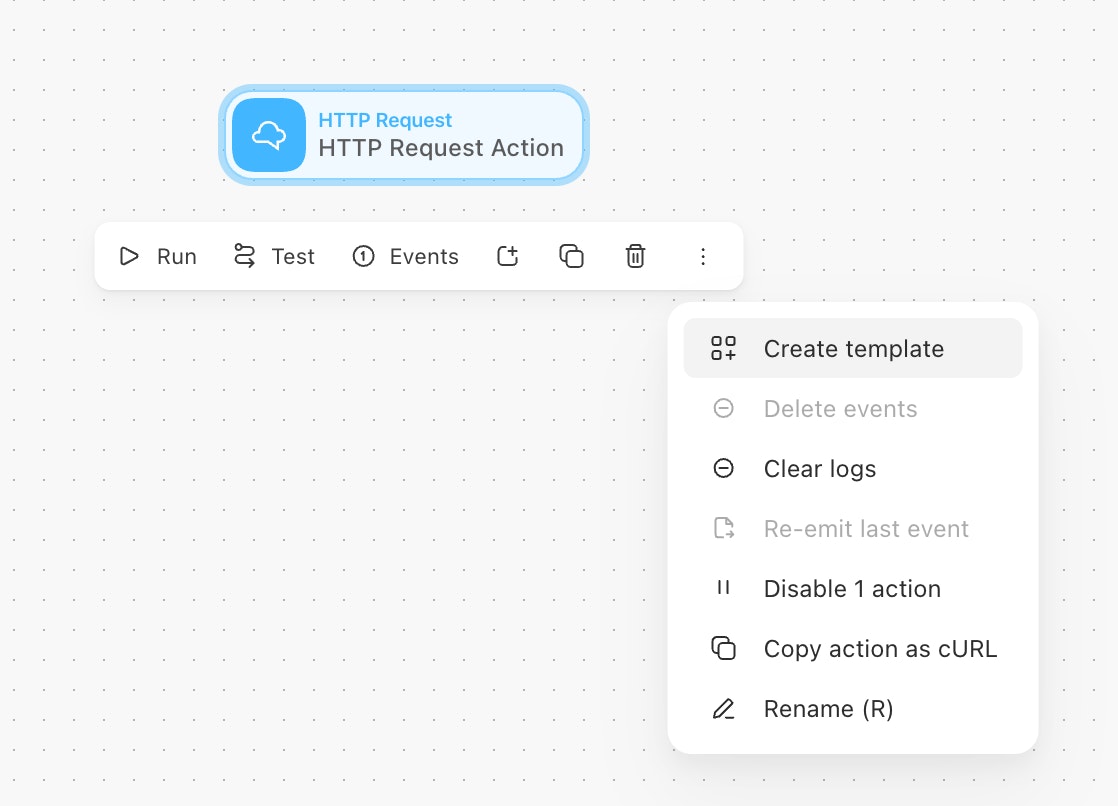
To create a private template, select any action from any story and then select Create template from the more dropdown to open the template editor. The editor will autofill any information from the selected template and is broken up into four sections: Details, Action inputs, Action options and Test.
Details
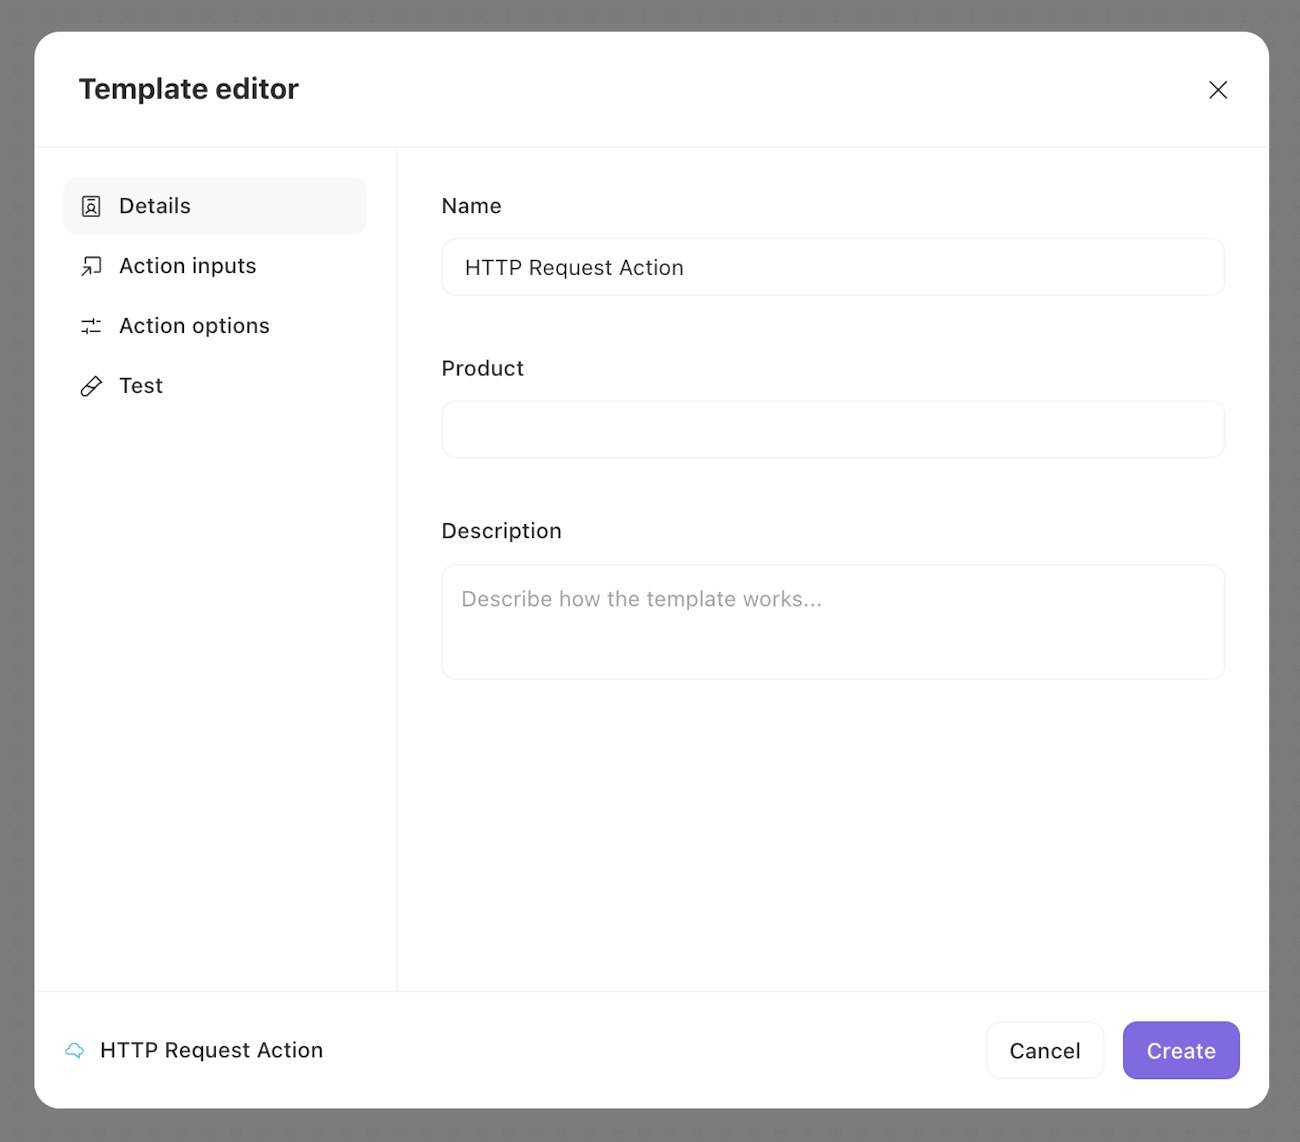
This section has a few key details for the template. Name and product are required while Description is optional.
Action inputs
💡Note
❗️Important
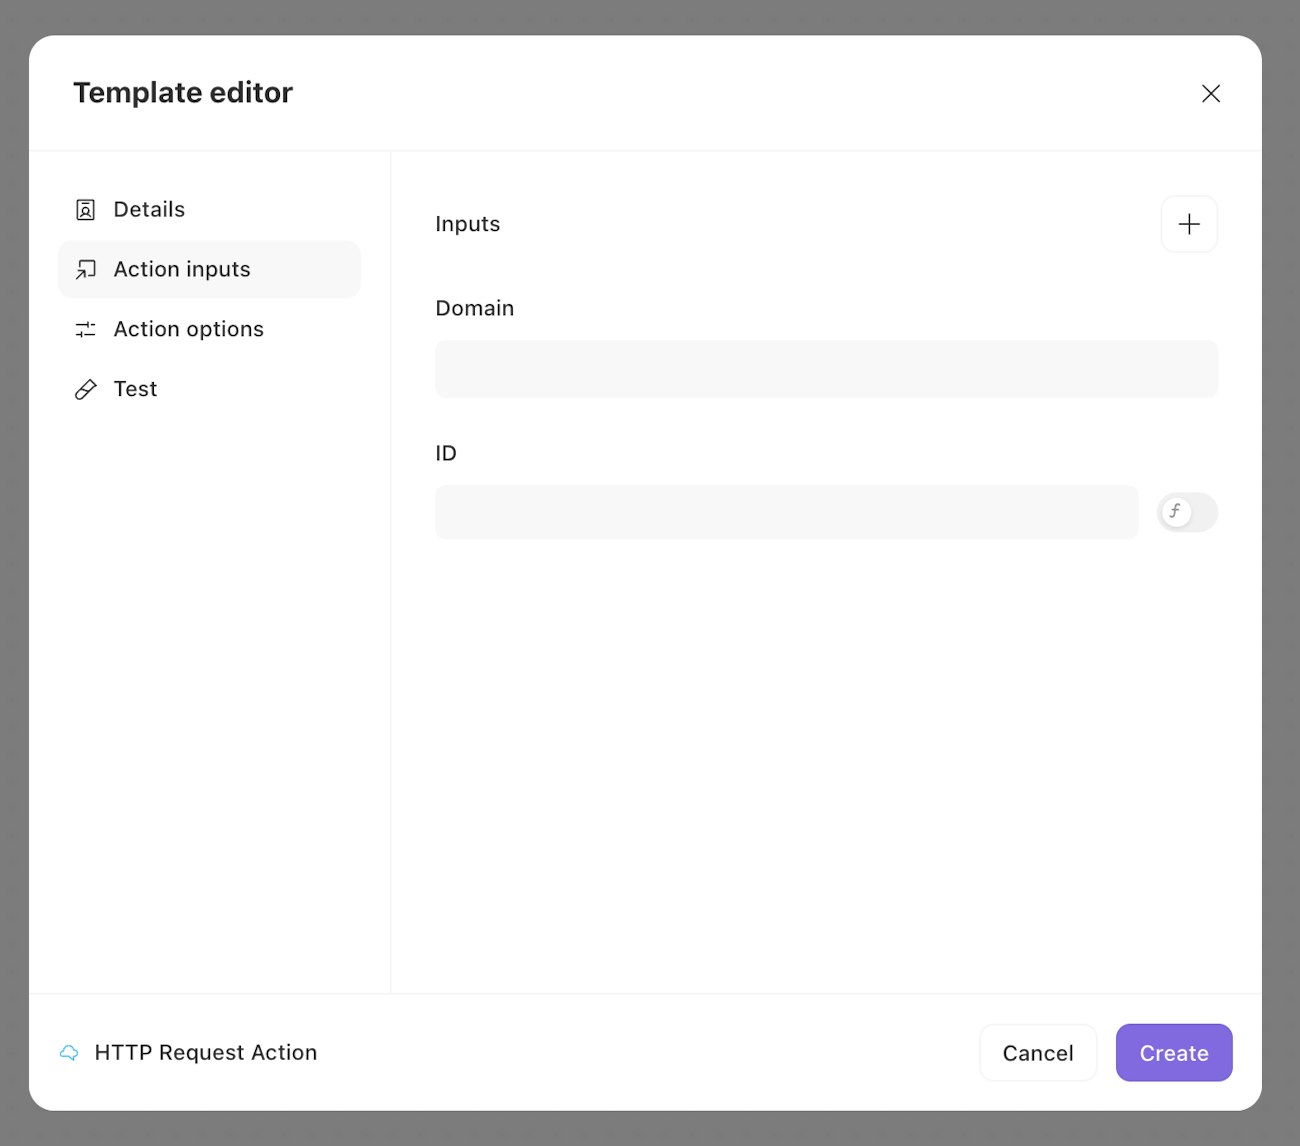
Action inputs provide a simple interface to users, hiding the template's complexity. Input types include:
Text: a string of text (can include formula pills)
Object: more complex objects (including formula pills). A JSON schema can be provided to define the format of the object, which is used by Workbench to ensure that data is passed in properly.
Boolean: true/false (can be replaced with a formula)
Code: a block of code (supported languages include HTML, Python, SQL, XML and GraphQL)
Date: a date than can be selected from a calendar pop-up (can be replaced with a formula)
Number: String representing a number (can be replaced with a formula)
Option: a list of options to be selected from a dropdown, or from a list of checkboxes in multi select mode (can be replaced with a formula)
Credential: a special input type that allows a template to access user-provided credentials in a secure manner. A template can't have more than one credential input.
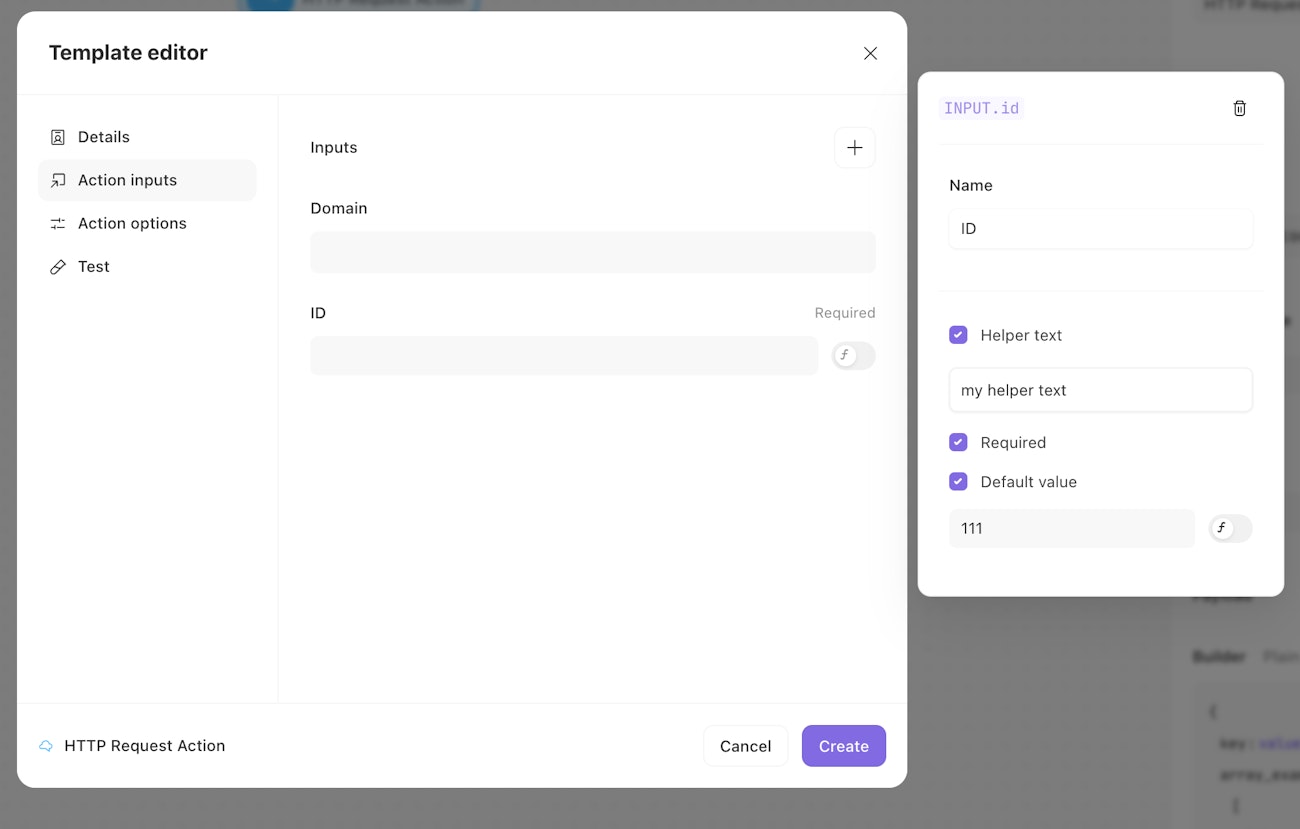
While some input types have unique configuration options (those described above), there are a few that almost all inputs share:
Path: located in the header, the path to access this value in the action options. If the input name is "Client number" then the path would be
INPUT.client_number. Click to copy.Name: update the name of the input.
Helper text: text for a tooltip description of the input that's visible to the user. (All except credential.)
Required: ensures that the user sees the input when they drag out the template. Non-required fields will be hidden behind an Optional fields button initially. (All except credential.)
Default value: set the default value for the input. (All except credential.)
Delete: delete the input. (Bin icon.)
Inputs can also be reordered by dragging.
Action options
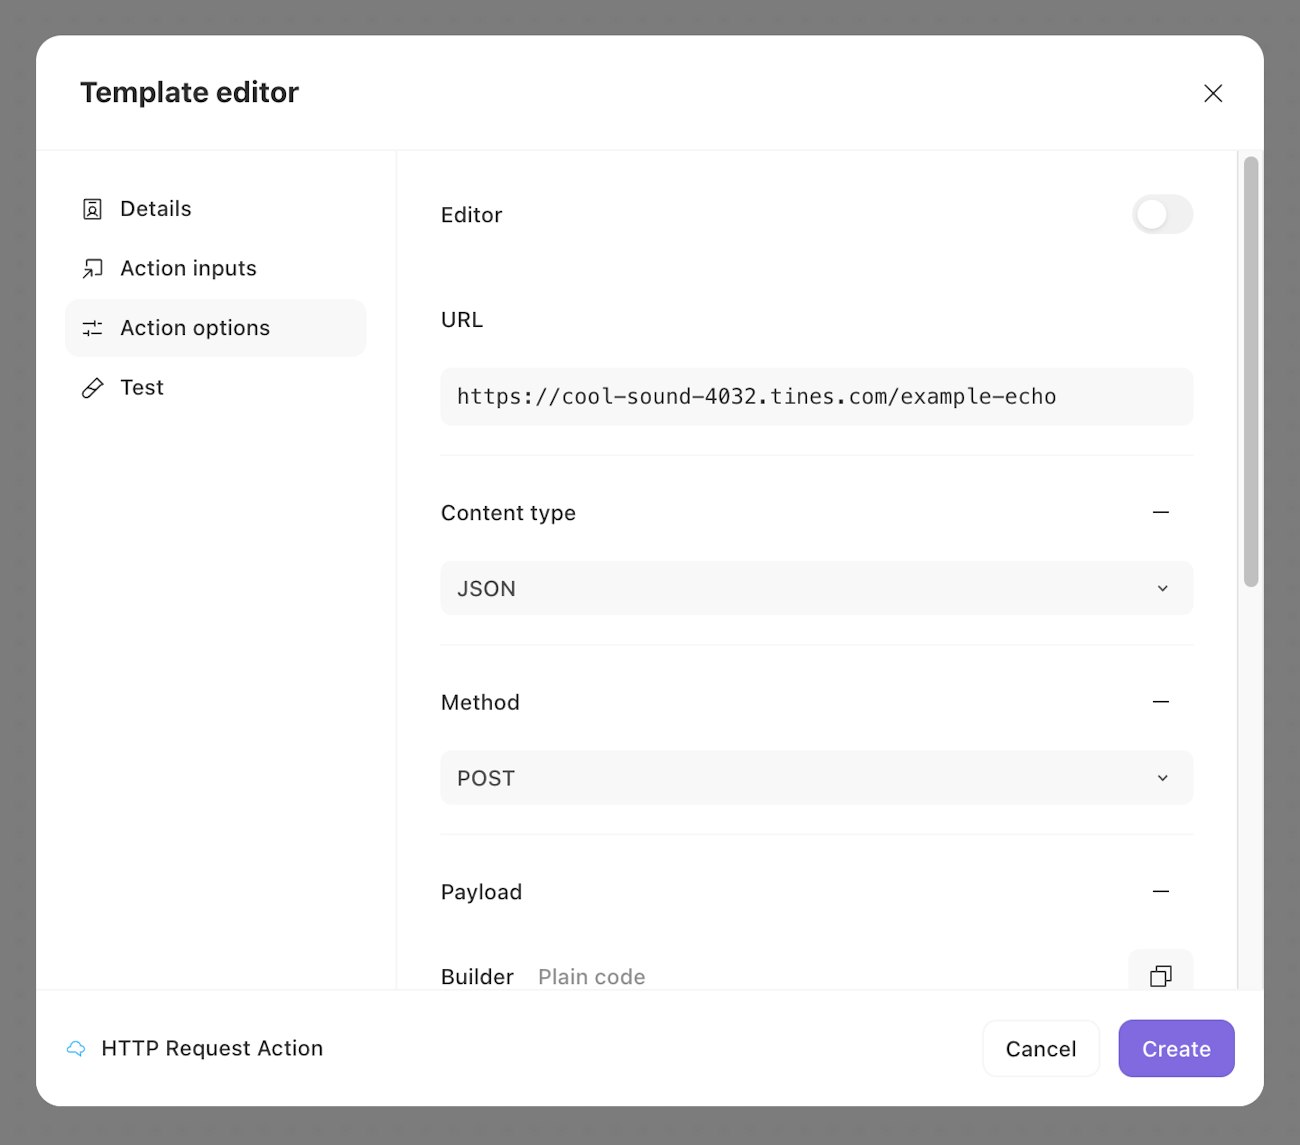
Action options configure the template's underlying action. The options provided must be valid for the action type, otherwise the template will not save. Configuration works exactly the same as it does for actions on the storyboard.
Accessing input values
To access an action input value inside the action options, you need to use the special INPUT key. INPUT is an object where every key/value pair is the input and its value. You can find the path for a given input in the action input editor popup.
You can also access credential metadata and any other information that you could access through the info formula key (INFO.credential.<credential_name>) path through the INPUT key. The path pattern is INPUT.<input_name>.info. For instance, if you have a credential input called "Jira credential" and you want to access the "domain" metadata variable, you could access it with INPUT.jira_credential.info.metadata.domain.
Test
💡Note
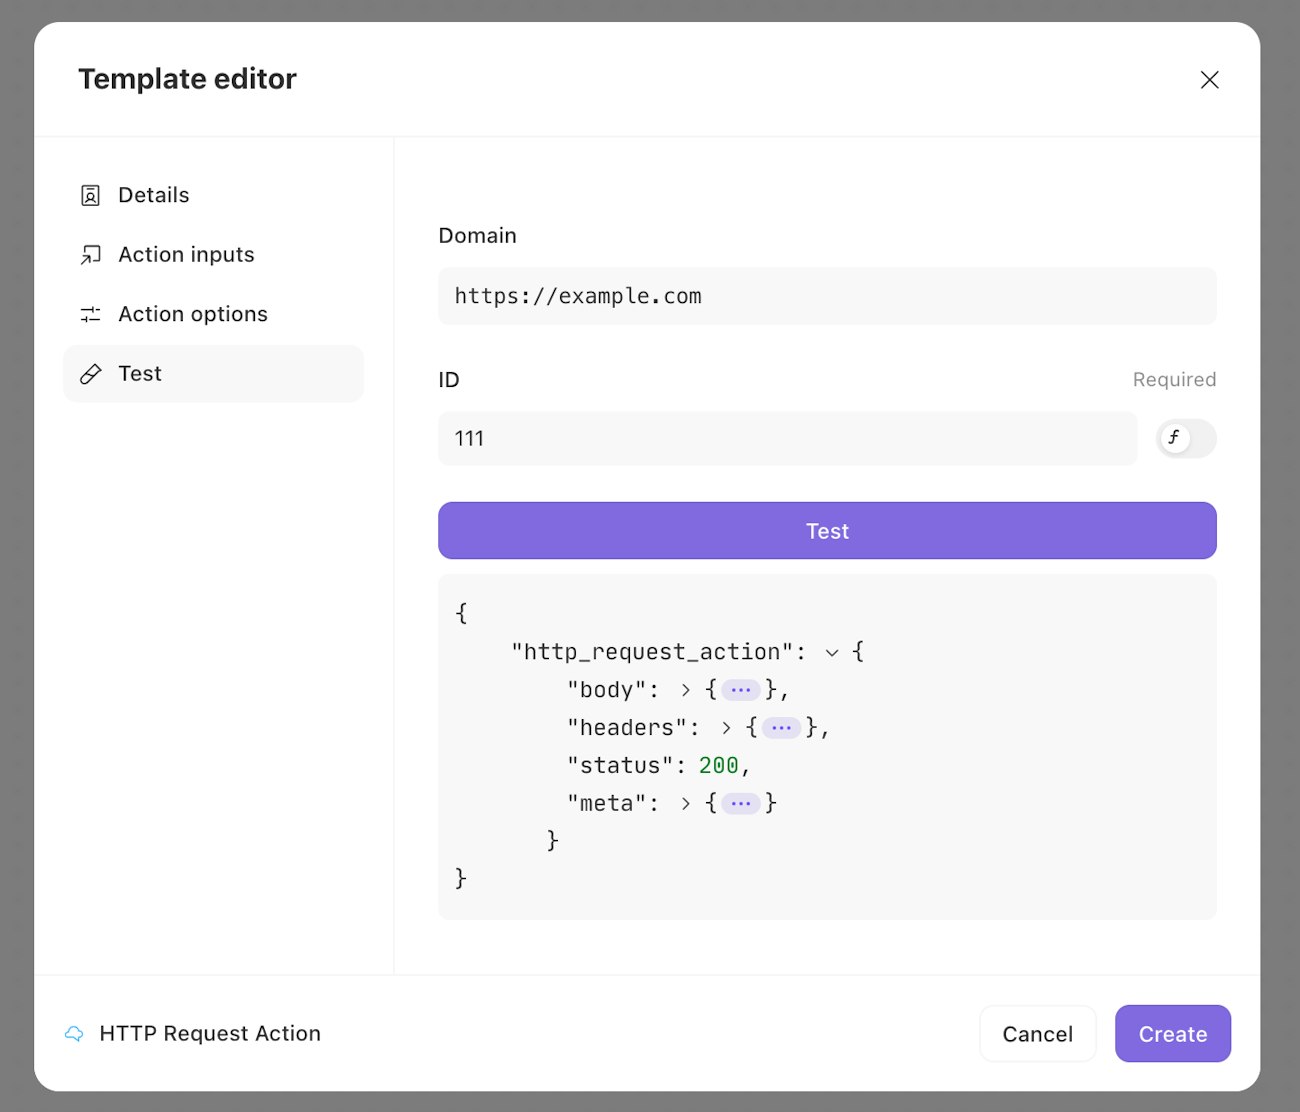
The test section allows you to test out your inputs and options on the fly by clicking the test button. Action inputs are available and can be edited in this view but action options are hidden, just like they will be for users. Return data or errors will be printed in a JSON blob below the test button.
Editing private templates
To view existing Private Templates, navigate to the Templates page from the top-left menu. Here you'll find all the templates on the tenant. Select a tenant to access all the configuration described above.
Using private templates
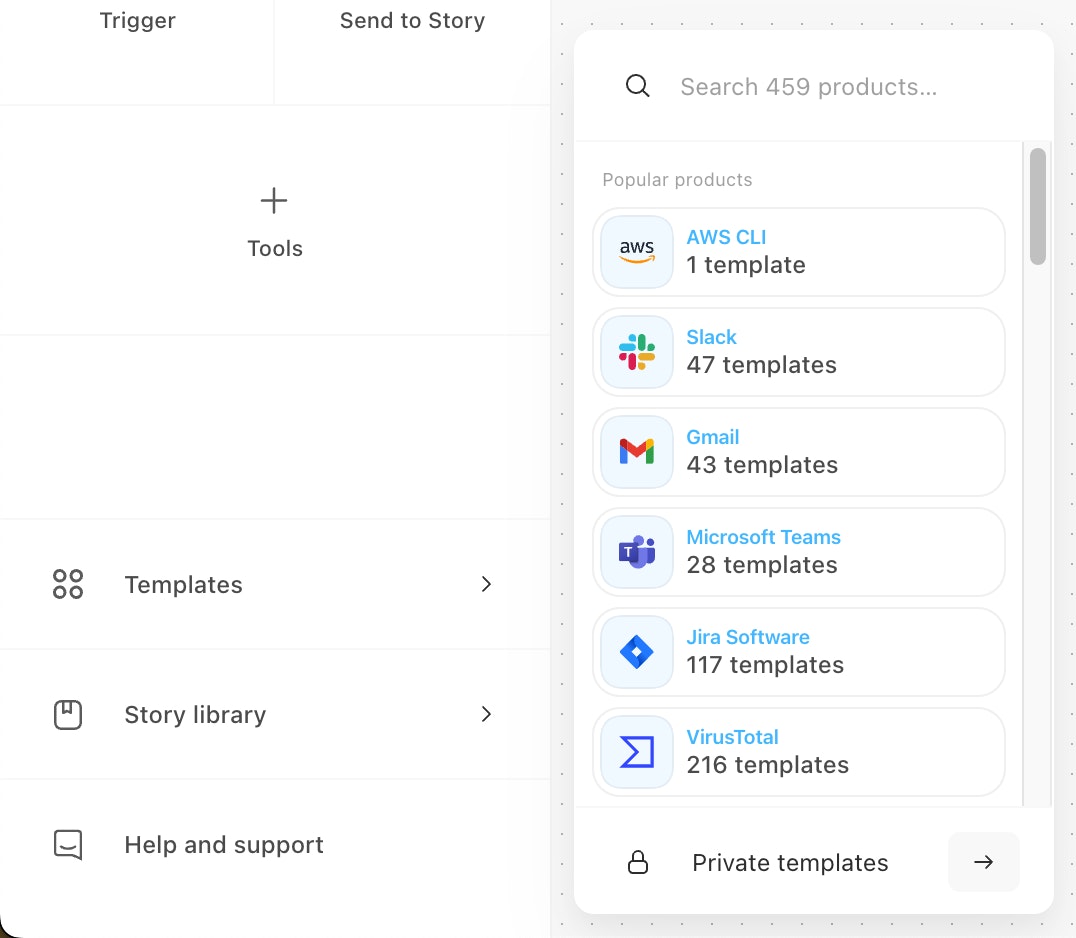
Private templates can be accessed through the templates drawer on the storyboard, just like public templates. Click the Private templates button at the bottom of the drawer. Private templates are grouped by product, just like public templates. After dragging the product onto the storyboard, select the private template from the right-hand menu.