What are cases?
When you build workflows in Tines, you can reduce much of the manual work. However, there are times when an issue needs more attention and investigation.
Imagine you get a critical alert from an external system. This could be something that needs a human touch to look into further. While you're digging into the problem, you'll need a way to break down the information and figure out what's going on. This might mean uploading files, completing various tasks, and working with your team.
That's where cases come into play!
Setting up a case
Cases are super easy to get started with. You can either create a case from within a story using an action, or you can go to your cases view and click “New”
Steps
Go to cases
Click New on the top right corner
Select from Templates or create from scratch
Put any information needed for your description
Set to “in progress”
Assign who’ll be working on the case
Begin to work on the case from the comments section
Case requirements
If you need to ensure a certain type of activity happens before a case is closed, you can add a requirement. These requirements can vary from business to business, so they are developed to be very flexible.
After creating a case, you can select the case requirements on the right side. These can look at things like:
Tags on your case
Priority level being a certain category
Metadata being present
Check out the GIF below to see where you can modify this information. You can also capture the case requirements as you save a new template for your team!
By adding case requirements and saving them to a template, you can develop standardization across your organization.
Collaborating on cases
If you need to pull someone from your team into a case, you can @ them in the comments. When you do this, it’ll send them a notification which makes it easy to get them involved in an active case you may be working on.
These notifications will appear in the top right corner via the bell 🔔 icon.
You can also click the subscriber button on the top right to get notifications around a case if you want to get a steady stream of updates that may happen on a case you are interested in. This could either be from a visibility perspective to help someone newer on your team or a way to learn about what actions someone is taking to resolve an active case.
Resolving a case
Once when you are ready to close out your case, you can just go to the top and go from In Progress to Done! It’s that easy 🙂
If you have any case requirements, you may have to complete them first. In the example below there is a requirement to have all of the metadata complete.
Performing actions within a case
Actions within a case allow you to perform any tasks you may have manually had to produce before. These actions trigger a Page or a Webhook to go through a workflow.
In the below example, we can see how adding a Page to an action can provide us a way to develop an interface from outside of our case.
Having that page leads to any type of workflow like this one for example.
Examples of workflows from actions:
AI to create summaries of a case in relation to records
“Lock out a user” from a Page
Notify your team about an escalation in your case
many more!
Reviewing case overview
To check your active workflow, go to the cases view. From here you can filter down to your assigned cases, priority level, tags, and more.
Dashboard
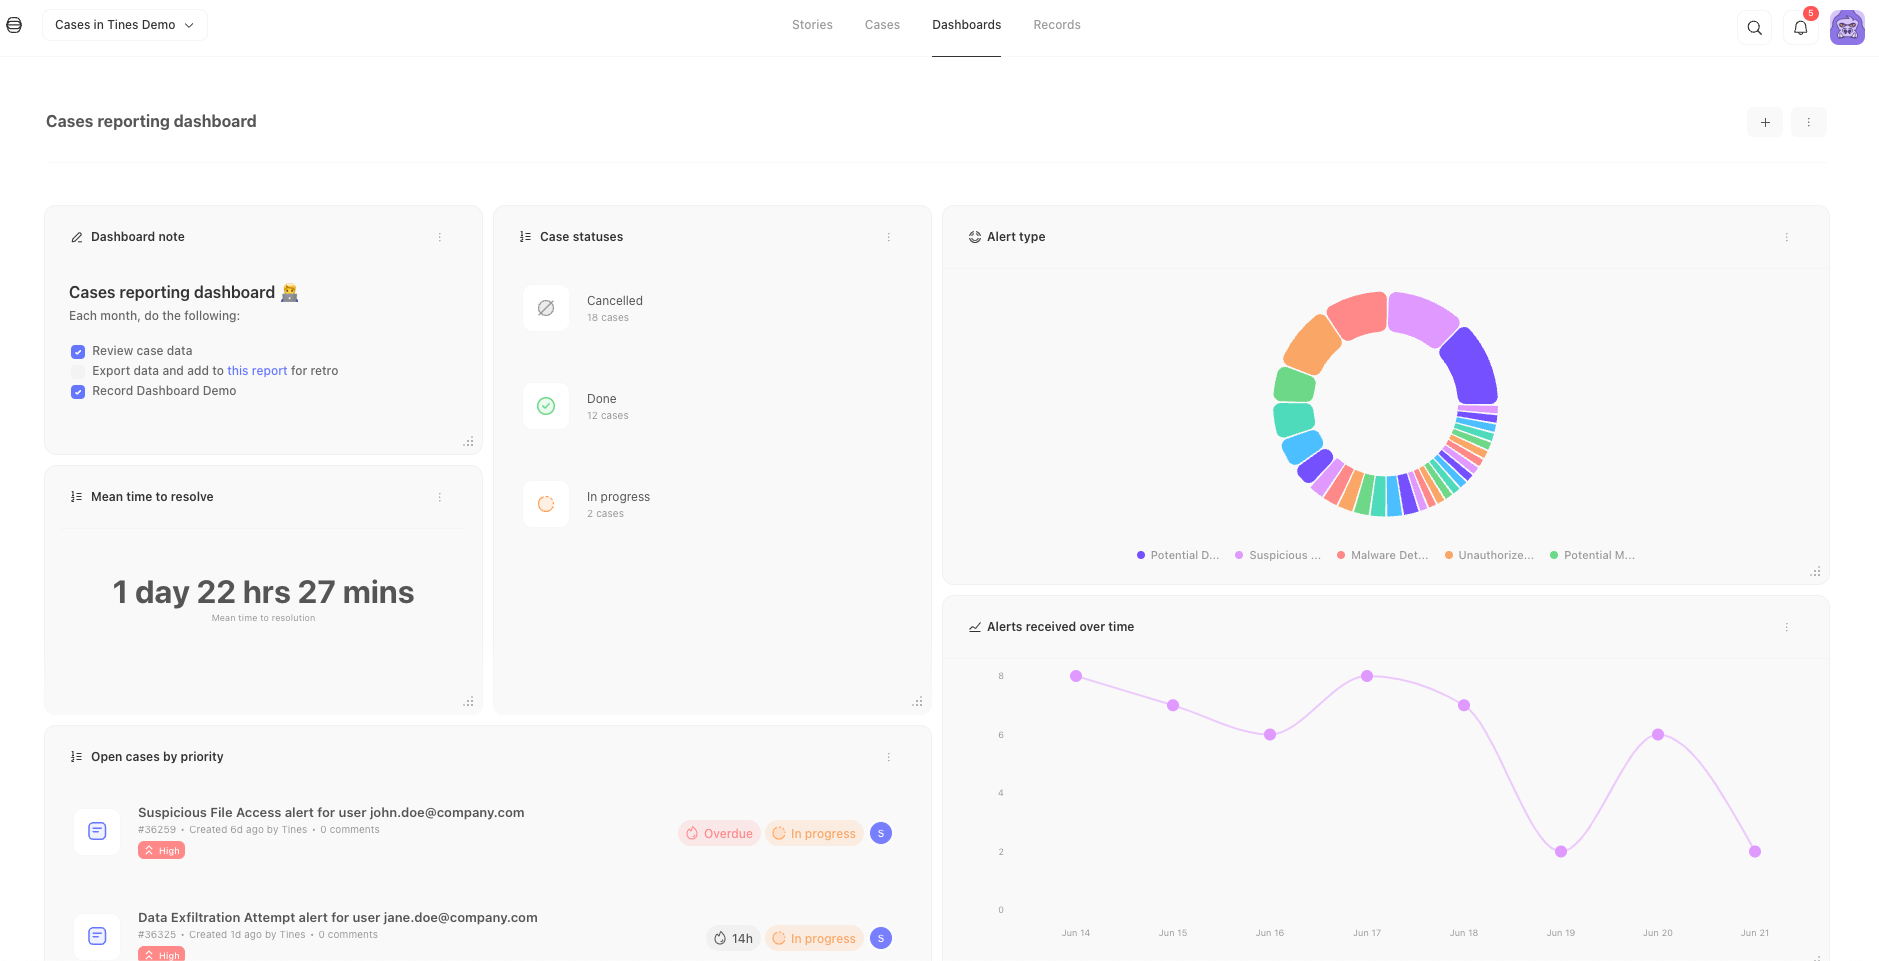
Now, if you want a more dynamic approach to seeing your cases, you can utilize Dashboards. This provides a new look with visualizations of your data and a quick way to see high-level case info.

To get started with a dashboard, simply add widgets by pressing the + button. Before you know it, you'll have a new cool view 😎😎😎
Bulk actions
You can also perform bulk actions from the case view. To do so, go to the cases view, select the cases you want to produce a task for, and select the available options at the bottom.
Attaching records to a workflow
A great way to add extra context to a case is to leverage records. Records allow us to pick and choose key data points and store them in a mini database. Let's check out how we can quickly implement one into our workflow.
After adding our record, we can have it dynamically attached to our case later in the workflow.