Overview
Tines exists to empower people to automate work, with no coding knowledge required. In this bootcamp, you will learn how to build an application in Tines using pages. It is recommended but not required that you complete the fundamentals bootcamp before this one.
The goal of this training is to introduce you to more concepts of Tines pages. You will learn how pages can be used as inputs to your Tines stories, how you can surface information from your Tines stories, and ultimately how to create your own apps without writing any code.
💡Note
Set up your credential
If you have already configured a bootcamp_api credential, you can skip to the “First Page” section, otherwise follow these steps to build your credential.
💡Note
Create a new credential by clicking anywhere on the storyboard to bring up the story menu on the right pane. Find the “Credentials” section.
Note that your story will alert you of a missing credential. Hover over bootcamp_api and click on "Connect" that is shown to the right.
Click “+ Create New” at the bottom of the modal that pops up, and then select “Text”.
Leave the name as bootcamp_api and for the value, type “secret_api_key”.
Scroll down in the credential builder and find "URLS and Domains" under the "Additional Configurations". Type in "toolkit.tines.com".
Next click “Save”.
💡Note
First page
On the left panel, hover over the “Tools” button, click and drag a page over to your storyboard above the action titled “Employee”.
Now click on your new page and click “Edit” to configure it.
Getting started with pages
When you first edit a page, there is the option to select from several pre-built templates. On the left side, you’ll see options such as a blank page, an app/service request, or an allowlist, among other examples. These are a great way to get a head start when creating a page.
You’ll also notice at the bottom of the list of pages, we have the option to import existing pages. This makes it easy to reuse previously built custom pages.
Start with selecting "Blank page" and then click "Select".
Elements and style
On the left panel, you can choose from several display elements and input fields to make your page fit your needs. These include input and output fields such as text, images, files, tables, and charts. As you add your elements, you can configure them by simply clicking on them in the page preview in the center of the screen.
To learn more about all the element types, check our documentation here.
On the right panel, you can design the look of your page. You can add your own logo, fully customize the color palette, and set up themes that you can reuse in other pages in Tines.
Customizing page elements
Starting with the blank page, let's add some elements. On the left hand panel, drag over the “Heading” element into the center page. Clicking on the heading shows the configuration options for that element on the right. Type in “Onboard New Employee” in the "Contents" section. You’ll see that it automatically updates on your page preview as you type.
It’s time to add some input elements to the page. Since this is an onboarding story, the required inputs will be “First Name” and “Last Name” of our new employee and a list of tools they need access to.
Click and drag a “Short text” element over to the page. When dragging, you can drop an element wherever you want it on the page.
💡Note
Change the name of this element from “Short text” to “First Name” by clicking on it and configuring the “Name” field. You will also see a list of options for the element, check the “Required” box to make this a mandatory input.
Repeat those steps to create a second input field and name it "Last Name". Drag a “Short text” element over below the first one, change the name, and mark it as required.
Finally, add an “Option” element to create a checkbox list of tools for the new user. Click and drag the element over to the page below the “Last Name” field and above the “Submit” button.
Rename this element to “Tools”, and then under the list, you will want to input three tools, which are Github, Salesforce, and Crowdstrike. Set this as required and select the box for “Multi select” to allow the user to pick several options on your list.
💡Note
Conditional page elements
Next let’s add some conditional logic to our page. When onboarding a user to Github it’s not unusual for them to have a personal Github account that will need to be added to the Github organization.
First let’s drag a short text element and place it at the bottom of our page. On the righthand panel, rename it to “Github Username” and mark it as required. On the top right of the panel, select "Advanced" and then toggle on "Show / hide conditionality".
This will bring up configuration options for the conditional visibility of the element, including a dropdown set to “Show”. The three options available here are "Show", "Hide" and "Disable" and these options refer to the behavior of the selected element depending on the downstream condition. The other dropdown includes "All", "Any" and "None"and these relates to how many of the conditions need to be satisfied to apply the given behavior to the element. Keep it as "Show" and "All".
Next, let’s add a condition. Click on “+ Add condition” to bring up the condition creation element. Set the first dropdown to “Tools”, the second to “contains” and the value to "Github". This means that if the user selects Github as a tool for the new employee, then it will dynamically add this text input to the page.
When requesting access to Github another piece of useful information is the requester's team or function. This can dictate which repositories they’ll need access to. Let’s drag another option element over from the left hand side, rename it "Employee Department" and mark it as required. Add the following as options: IT, Engineering and Security.
Next we are going to create a container on this page. A container in a Tines page is way of grouping elements together. This is a helpful way to apply logic to multiple components on a page at a time. To do this, grab and drag that element and place it on top of the "Github Username" element. You should see the conditional logic indicator spanning across both elements on the right hand side.
Don't forget to add a submit button!
Click on the name of your story in the top left of your window to get back to the main story board.
Configuring the page
From the story board, click on your page to open the configuration menu. Note the toolbar under the page, and also note the “Build | Status | Logs” in the right pane.
Rename the page from “Page action” to “Start”. This gives us an indication where the app will start in our story.
Next, select the dropdown below “Page behavior”. By default, a page will show a custom success message, whereas the option “Move to next page” creates a dynamic app. Your page configuration should look like the image below by selecting "Move to next page”.
You can also configure a loading message to present to your end users while the story executes, as well as the ability to customize your page URL path. For example, your address could be
https://<<your_tines_tenant>>.com/pages/onboarding. For now, leave that field with the generated ID.
Test your page
When the page is selected, click the arrow pointing to the top right on the toolbar below the page. This should allow you to open up the page for viewing and interacting as an end user.
Now, type in a first name and last name, select "Github" as a tool from the list, and fill out the username and department and then click “Submit.” You will see a success message because there are no additional pages downstream to load.
Close this tab to return to your story and keep building.
There is now a number icon to the top right of the page. An event was emitted because you submitted the page!
You can click this number to open the event pane at the bottom of the window or you click on the “Events” tab below the page.
Click on the {...} next to “start”: in order to expand the event. Expand the {...} next to “body”: to see the information that you submitted.
Using page data in the story
You can refer to data from pages the same way you refer to any actions in Tines. The next few steps will walk you through configuring your actions to make use of the page you created.
Connect the "Start" page to the "Employee" action by clicking the arrow on the lower left of the page and dragging to the upper left of the other action. Click on the “Employee” action and view the “Builder” tab in the right pane. This is an event transform action where the data is statically defined.
Highlight the text Trey and then click the + icon that you see below it.
Once you click the + icon, click “Value”. This will open the pill builder, where you can reference the data from the page you created above.
For this pill, type: start.body.
Note that Tines automatically populates data from upstream events.
Select first_name from the options. You can view the name that you submitted in the bottom right pill builder after Result:. Now click out of the pill builder and the data will automatically save.
Repeat the process for the last_name and the username fields.
The next key to change is tools. Select the text that says Github, and create a pill. You will use Tines’s JOIN function to change the list received from the page to a text field, specifying a comma as the delimiter of each element of the array.
Copy in the following into the pill that you entered for Github:
JOIN(start.body.tools, ", ")Lastly let’s update the employee_department key with the value start.body.employee_department[0]. Notice how we added a "[0]" at the end because this element is returned as an array of size 1 and we want to reference index 0 (or the first element in the array).
Build an “End” page
Now you will create a page to surface information from your story. Drag a new page onto the story board, and connect it below the “Send Email to Employee" action.
Change the name of the page to “End”, and then change the page behavior to “Redirect to URL”.
Under the URL field in the bottom of the build tab, delete http://example.com, and click the + icon to create a pill, which will be set to PAGE.start. The PAGE object is a special value in Tines which allows you to easily reference the link to a page in your story.
Setting this as the redirect URL means your app can quickly go back to the beginning of the story to onboard multiple employees in a row.
The end result should look like the below, with an “End” page, the page behavior changed, and the URL at the bottom replaced with a pill that references the first start page.
Now, click “Edit” or double click the new page to get to configure it.
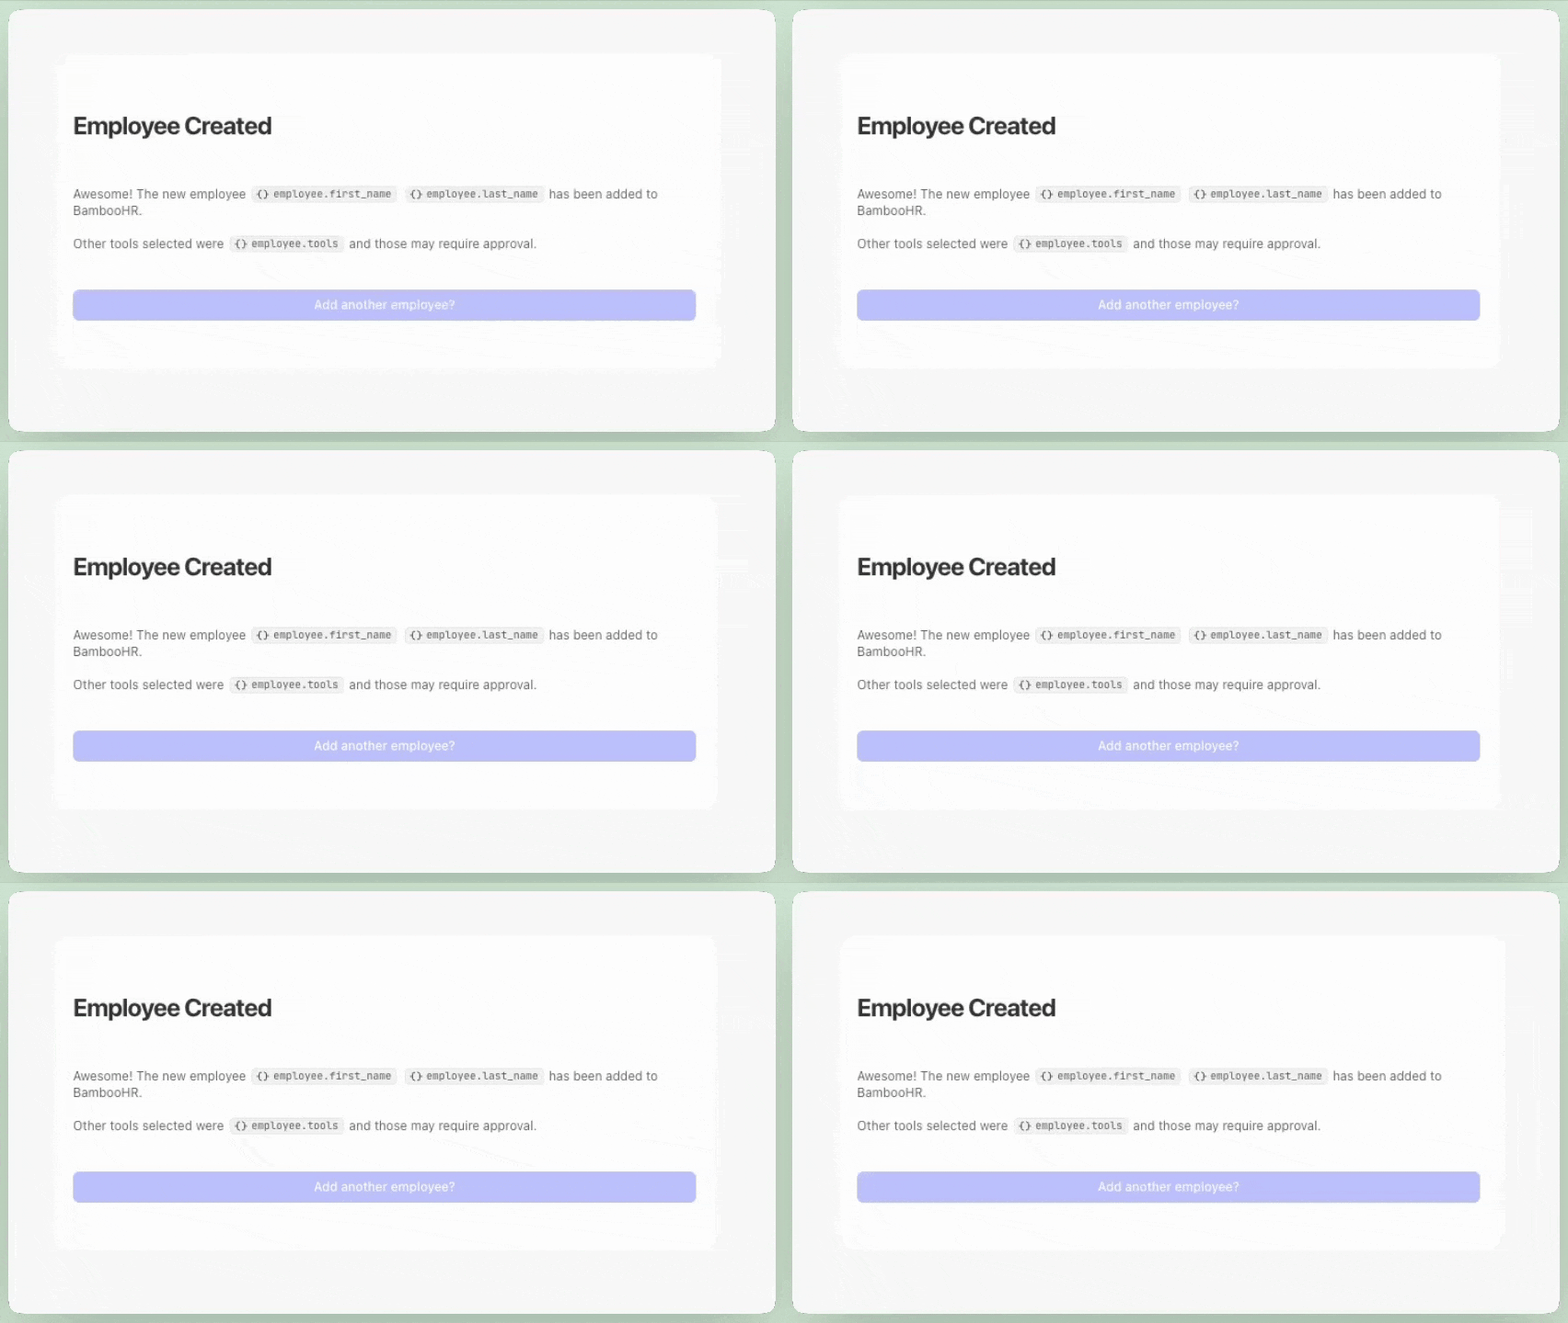
Select "Blank page" and click "Select". Drag and drop a "Heading" and a "Rich text" component. Change the heading to “Employee Created” and then change the rich text element to present information that would be valuable to your end user so they have context on what happened within the story.
Copy the below code block, and paste it into the contents of the “Rich text” element, replacing the auto-generated text. The pills will be automatically created from the below code block.
Awesome! The new employee <<employee.first_name>> <<employee.last_name>> has been added to BambooHR.

Other tools selected were <<employee.tools>> and those may require approval.
Finally, add a button and change the text of the button label to “Add another employee?”. This indicates that once the button is clicked, the user will be taken back to the start of the app flow. Your page preview should now look like this:

Test it out
Now that your start and end pages are configured and set up, go back to the URL of your “Start” page, and give it a try!
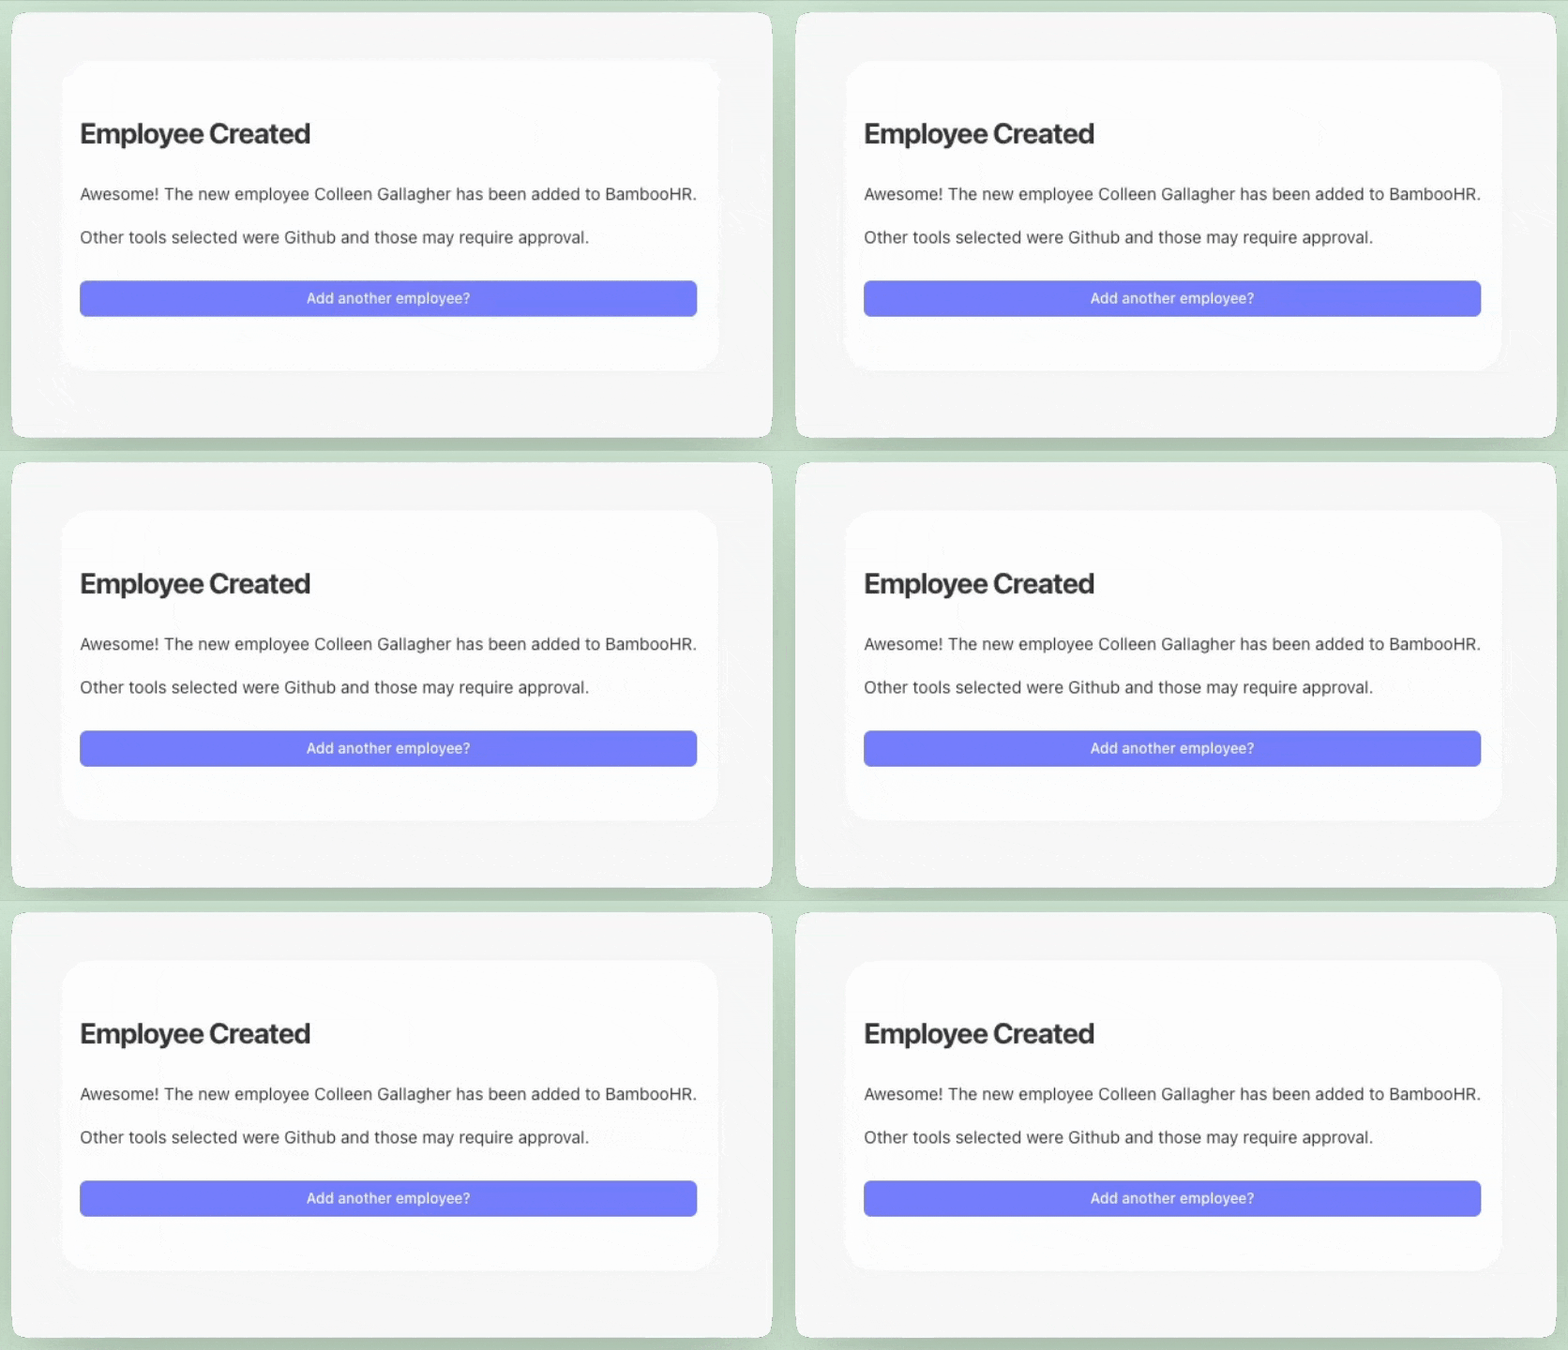
You should see the end page, with a result that looks similar to the below:

After you navigate back to the story, you can check everything worked correctly by following the path of the events as they ran down the story. Each of the tools that you checked should have an event emitted with the trigger of the same name. Below the trigger, there is also an event for each of the HTTP requests, where the user is either added to Github, Salesforce, or Crowdstrike.
💡Note
Adding an approval workflow
You could stop here as you essentially have a complete story already, but in the interest of adding something useful in the real world and showing off a few more interesting techniques with pages, you can add in an approval flow workflow for sensitive tools before access is granted to them.
Email the approver
First, disconnect the “Add User to Github” action from the “Github” trigger and move it down the story board.
Drag an event transform action over from the left-hand side onto the story board. Connect the new action below the “Github” trigger. Change the name of the action to be “Delay”, and then change the mode from “message_only” to “delay”.
You will be sending an email (to yourself) that contains a link to a new approval page. You can copy and paste the below code into your story board which will create a new email action for you.
Connect the new action below the “Github” trigger.
{"standardLibVersion":"35","actionRuntimeVersion":"4","agents":[{"disabled":false,"name":"Send Email for Approval","description":null,"options":"{\"recipients\":[\"nobody@tines.com\"],\"reply_to\":\"nobody@tines.com\",\"sender_name\":\"Tines\",\"subject\":\"Approval for <<generate_user_email.body>>\",\"body\":\"Please go to the following link to approve access to Github for <<employee.first_name>> <<employee.last_name>>:\\n\\n<<PAGE.approval>>\"}","position":{"x":4230,"y":735},"type":"email","timeSavedUnit":"minutes","timeSavedValue":0,"monitorAllEvents":false,"monitorFailures":false,"monitorNoEventsEmitted":null,"recordType":null,"recordWriters":[],"form":null,"cardIconName":null,"createdFromTemplateGuid":null,"createdFromTemplateVersion":null,"originStoryIdentifier":"cloud:c3351784425c6520fdbce5424919e5ad:eaabf08703da13faa9bf843a17bb0610"}],"links":[],"diagramNotes":[]}After the action is copied, you will need to change the email under recipients from nobody@tines.com to your own email. This is important so that you receive the approval page later on.
Create a new approval page
Now drag a new page onto your story board below the “Send Email for Approval” action. Connect that page to the “Send Email for Approval” action, and rename the page to “Approval”. After renaming, double click on the page to edit it.
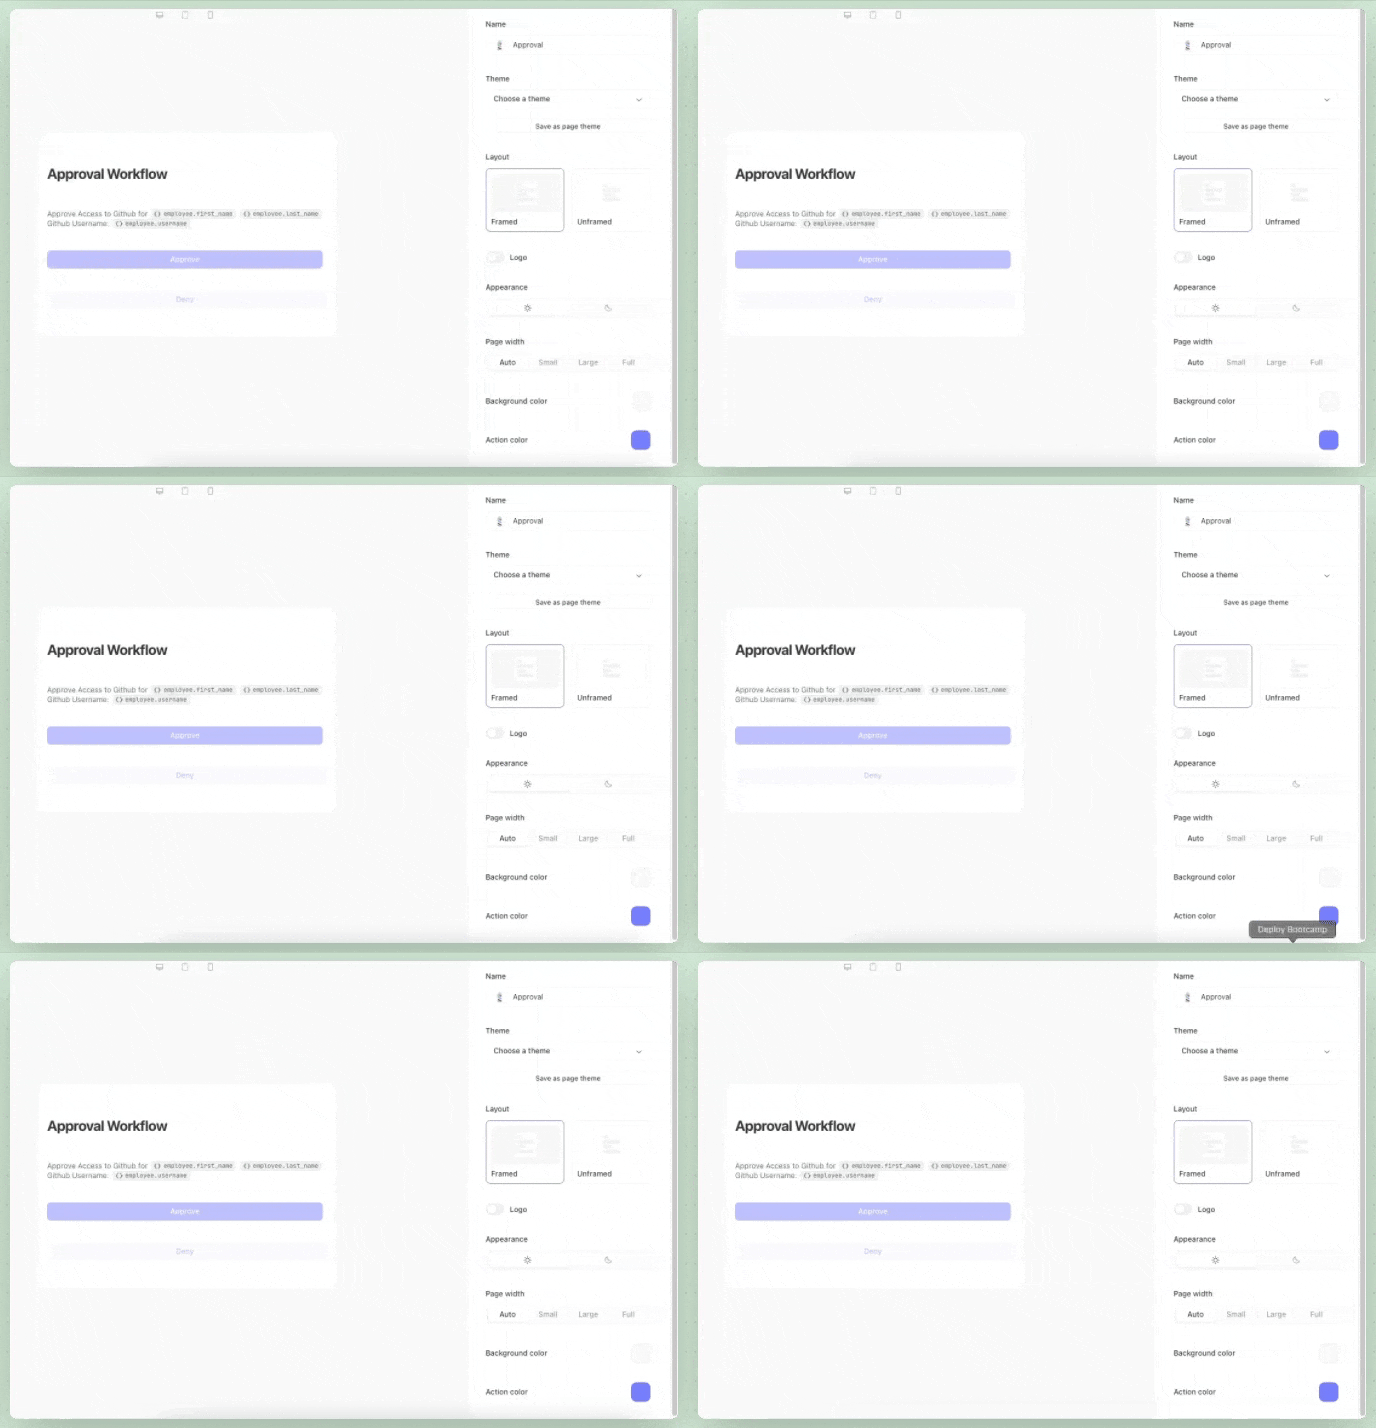
Add a “Heading” and change the contents to “Approval Workflow”.
Add a “Rich text” component, delete the example text and replace it with the following:
Approve Access to Github for <<employee.first_name>> <<employee.last_name>>
Github Username: <<employee.username>>
Finally, you are going to add two buttons, so the approver can either approve or deny the change if they need to.
Drag the button elements from the left pane and place in the center. Change the buttons to read as “Approve” and “Deny”.
Change the style on the “Deny” button to “Secondary”.
When you are done, your page preview will resemble the following:

Create a new “Approved” trigger
You now need a trigger that will look for when the approve button is pressed. Click the back arrow to the main story board. Next, grab a trigger action, label it “Approved?” and connect it to the approval page above as well as to the “Add User to Github” action below.
When configuring the action, replace somekey.subkey.subkey.goal with approval.body.button , which is the path of the button that will get passed when the page is submitted. The rule will be "matches regex", which is an additional option underneath the rule types. Finally, replace “foo” with “Approve”.
The trigger is using a rule that checks if the button clicked in the approval page "matches regex" for "Approve" meaning that the approval button was clicked by the end user. See here to learn more about the different types of trigger rules.
Run it from the top
Now, open your “Start” page, input your desired information, and the story should route you through the process successfully.
You should notice an email a few seconds later if you selected Github as a tool.
Click on the link in the email to complete the approval process for Github and note that the approval trigger emits an event and then calls out to Github to provision access.
Wrap up
Congratulations, you’ve built an onboarding application in Tines!
Along the way you learned how to design and customize pages to build a user interface for a Tines story to create a self-service application to onboard employees and automatically provision access to tools in your environment. You also learned how to change the mechanics of a page to operate differently according to a specific use case, and added an approval flow that can make your application even more dynamic.
More resources
Discover more use cases and prebuilt stories in our Story Library.
Come talk to us on our Community Slack by signing up here.
Check out more of our learning content in the Tines University.
Take the next step and get certified for no cost here.
Want to talk more? You can book a demo with our team on our Pricing Page.
