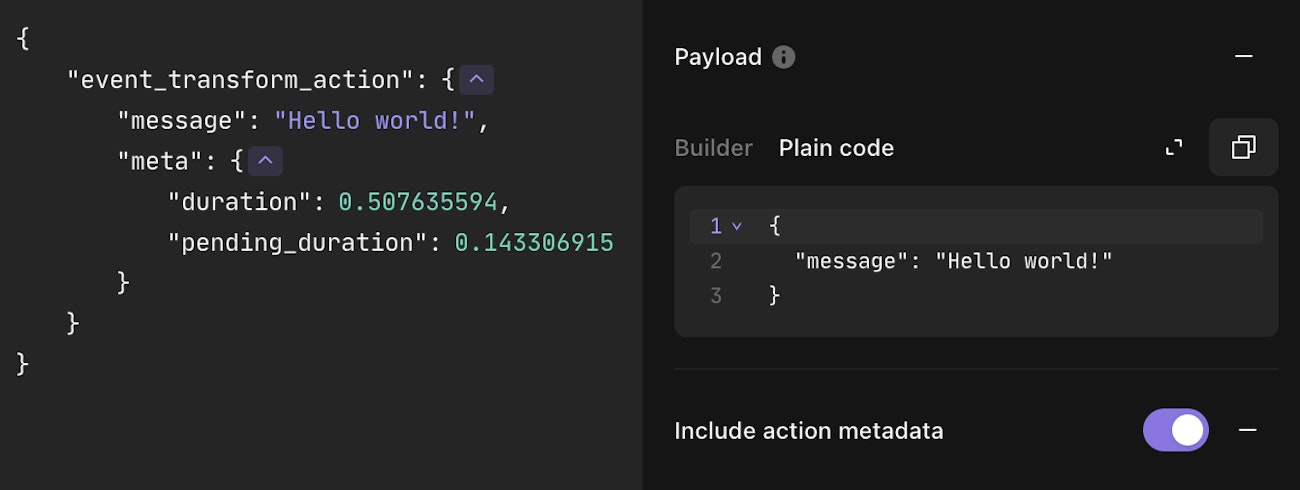
Actions are configured from the properties panel on the right of the storyboard. This appears when you select an individual action.
Common Config
All actions have three tabs: build, status, and logs. Webhook actions have an additional summary tab.
For all actions, you can
Configure the name, description, and options unique to the action type from the build tab.
View the action status, set up action monitoring to notify you of events or errors, and set up time saved per action from the status tab.
View action logs to find out what happened from the log tab.
Most actions can be scheduled from the status tab.
Depending on the action type, all options may not be available in the common config. See the below table for a description of the availability of "Schedule", "Sources", and "Receivers".
Source and Receiver Actions
When an action runs, either on a schedule or when an event is received from a source action, it will generate a new event and emit it to receiving actions.
As shown below, by dragging a string between actions, we define where events should be emitted. In this case, when the source action ("Webhook Action") runs, it will emit events to the receiver action ("Deduplicate Events").
Failure path for actions
A failure path can be defined for actions. This will cause any action run which contains an error log to emit its event down the failure path. To opt into the behavior, use the action context menu and select "set failure path", and then link to another action to receive failures.
Adding options
All of the basic options required for an action to function will be shown when you first drag an action onto the storyboard. However, most actions have additional optional options which allow you to achieve more with the action. You can access these options by clicking on the add option button at the bottom of the properties panel.
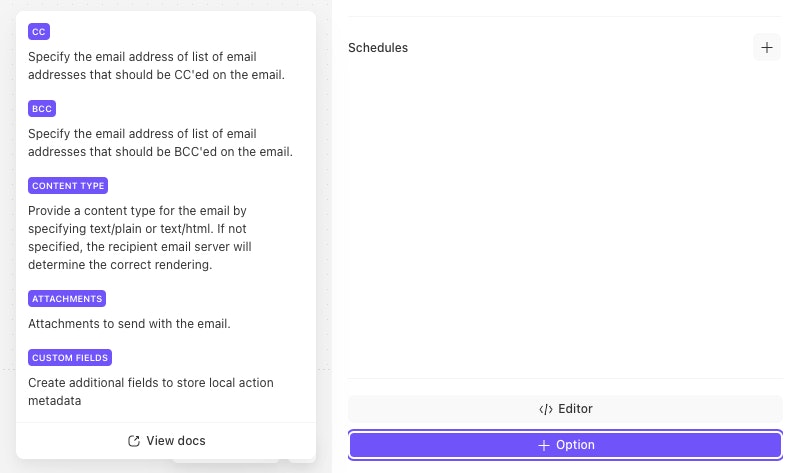
Common options
Every action type has the following options:
Local values
This object is generated once per run and it can be referenced elsewhere in the action via the LOCAL
key. It functions like a set of variables or cached values for the action, and it can be used to make your action options more readable or to save time by calculating a value only once and reusing it in multiple places.
You can reference LOCAL
from within the Local values object but it will only be able to refer to keys that were defined earlier, otherwise they will resolve to null
.
Customize output
This option allows you to modify an action's output via the OUTPUT
key. This is useful for verbose actions like HTTP Request Actions, which produce a lot of metadata that you might not need, bloating events and making them harder to parse. With Customize output you can filter out any unnecessary information and just surface the values you need.
N.B. The OUTPUT
key is a special case just for the Customize output option (and the below log error if option). As a result, in previews it will always be null
. You will need to run the action to see the actual output. You cannot reference the contents of the Customize output object via the OUTPUT
key, as OUTPUT
only refers to the original output of the action, before Customize output is applied.
💡Note
Log error if
Similar to the previous option customize output, this option allows you to log an error based on the action’s output – accessible with the OUTPUT
key in a formulas expression. It is similar to the HTTP request action’s log error on status option, but more flexible and available to all actions.
Emit failure event
This option provides a guarantee that an event will be emitted – even if a fatal error takes place, such as a formula expression which crashes. In those cases, an event with {"failed": true}
will be emitted, allowing you to intercept and recover as required.
Working with Events and Values
Every Tines event is a JSON object. The data within events can be accessed in action configurations using JSONPaths.
{
"customerName":"John Doe",
"address":
{
"streetAddress":
{
"number":123,
"street":"Sample Street"
},
"city":"Example Town"
}
"orders":
[
{
"orderId":23284,
"itemName":"Widget",
"itemPrice":33.99
},
{
"orderId":63122,
"itemName":"Gadget",
"itemPrice":22.50
},
{
"orderId":77284,
"itemName":"Sprocket",
"itemPrice":12.00
}
]
}
To insert information from an incoming event into an action's options block, first insert a value pill:
This will display a popup where you can add the value you want to be inserted into this location
Within this popup typing the following will insert the value of the customerName key from the above, sample Tines event
customerName
John Doe
To access information in a nested JSON key, use the following syntax:
key_name.subkey_name
The following will insert the value of the city key from the above, sample Tines event.
address.city
Example Town
Accessing Data in Nested Keys
You can query further levels of subkeys using the following syntax.
address.streetAddress.street
Sample Street
Accessing Data in Arrays
Arrays are queried using an array index expression inside square brackets ([]). For example, the following wrapped JSONPath can be used to access the first element of the "orders" array:
orders[0]
{
"orderId":23284,
"itemName":"Widget",
"itemPrice":33.99
}
The following wrapped JSONPath will return the itemPrice
from the 2nd element of the orders array.
orders[1].itemPrice
{
"orderId":63122,
"itemName":"Gadget",
"itemPrice":22.50
}